Mold Inspection Process Explained in Merritt Island: What Property Owners Should Know
If you own property in Merritt Island, a mold inspection can feel mysterious—or intimidating—especially if you’re worried about what might be found. The truth is, a professional mold inspection is a structured, step-by-step process designed to answer three key questions:
- Is mold present?
- Why is it there (the moisture source)?
- What should be done next?
In Brevard County’s humid, coastal environment, inspections aren’t about panic—they’re about clarity and prevention. Here’s exactly how the mold inspection process works and what Merritt Island property owners should expect.
🌴 Why Mold Inspections Matter More in Merritt Island
Local conditions make mold harder to spot—and easier to miss:
- High humidity year-round
- Salt air that slows drying
- Frequent storms and wind-driven rain
- Slab construction that traps moisture
- Long AC seasons that create condensation
Because mold is often hidden, inspections focus on moisture pathways and building behavior—not just visible spots.
🧭 Step 1: Initial Consultation & History
Every good inspection starts with context.
The inspector will typically ask about:
- Musty odors or visible staining
- Recent storms, leaks, or flooding
- AC issues (condensation, drain backups)
- Areas where mold keeps returning
- Health symptoms that worsen indoors
- The home’s age and recent renovations
Why this matters: mold tells a story. Understanding when and where problems began helps pinpoint the source faster.
👀 Step 2: Visual Inspection (Inside & Out)
Next comes a thorough visual walkthrough.
Inside the home
- Ceilings, walls, and baseboards
- Bathrooms, kitchens, laundry rooms
- Closets (especially on exterior walls)
- Around windows and doors
- Under sinks and cabinets
- Garage and garage-adjacent rooms
- HVAC closets and supply vents
Outside / transitional areas
- Rooflines, flashing, and penetrations
- Window and door seals
- Exterior walls facing prevailing winds
- Drainage and grading near the foundation
Visible mold isn’t always present—and that’s normal. The goal is to spot clues of moisture, not just growth.
💧 Step 3: Moisture Detection & Mapping
This is one of the most important parts of the inspection.
Inspectors use tools like:
- Moisture meters (non-invasive and pin-type)
- Infrared cameras to find temperature anomalies
- Hygrometers to measure indoor humidity
These tools help identify:
- Damp drywall behind paint
- Moisture under flooring on slab homes
- Wet insulation in attics or walls
- Condensation patterns near HVAC systems
In Merritt Island homes, moisture is often present without stains—this step finds what eyes can’t.
🌬️ Step 4: HVAC & Airflow Evaluation
Because HVAC systems move air everywhere, they’re a major inspection focus.
Inspectors typically check:
- Air handlers and drain pans
- Condensation on coils and cabinets
- Drain line condition
- Duct insulation (especially in attics)
- Supply vents for odors or staining
If musty smells worsen when the AC runs, this step often reveals why.
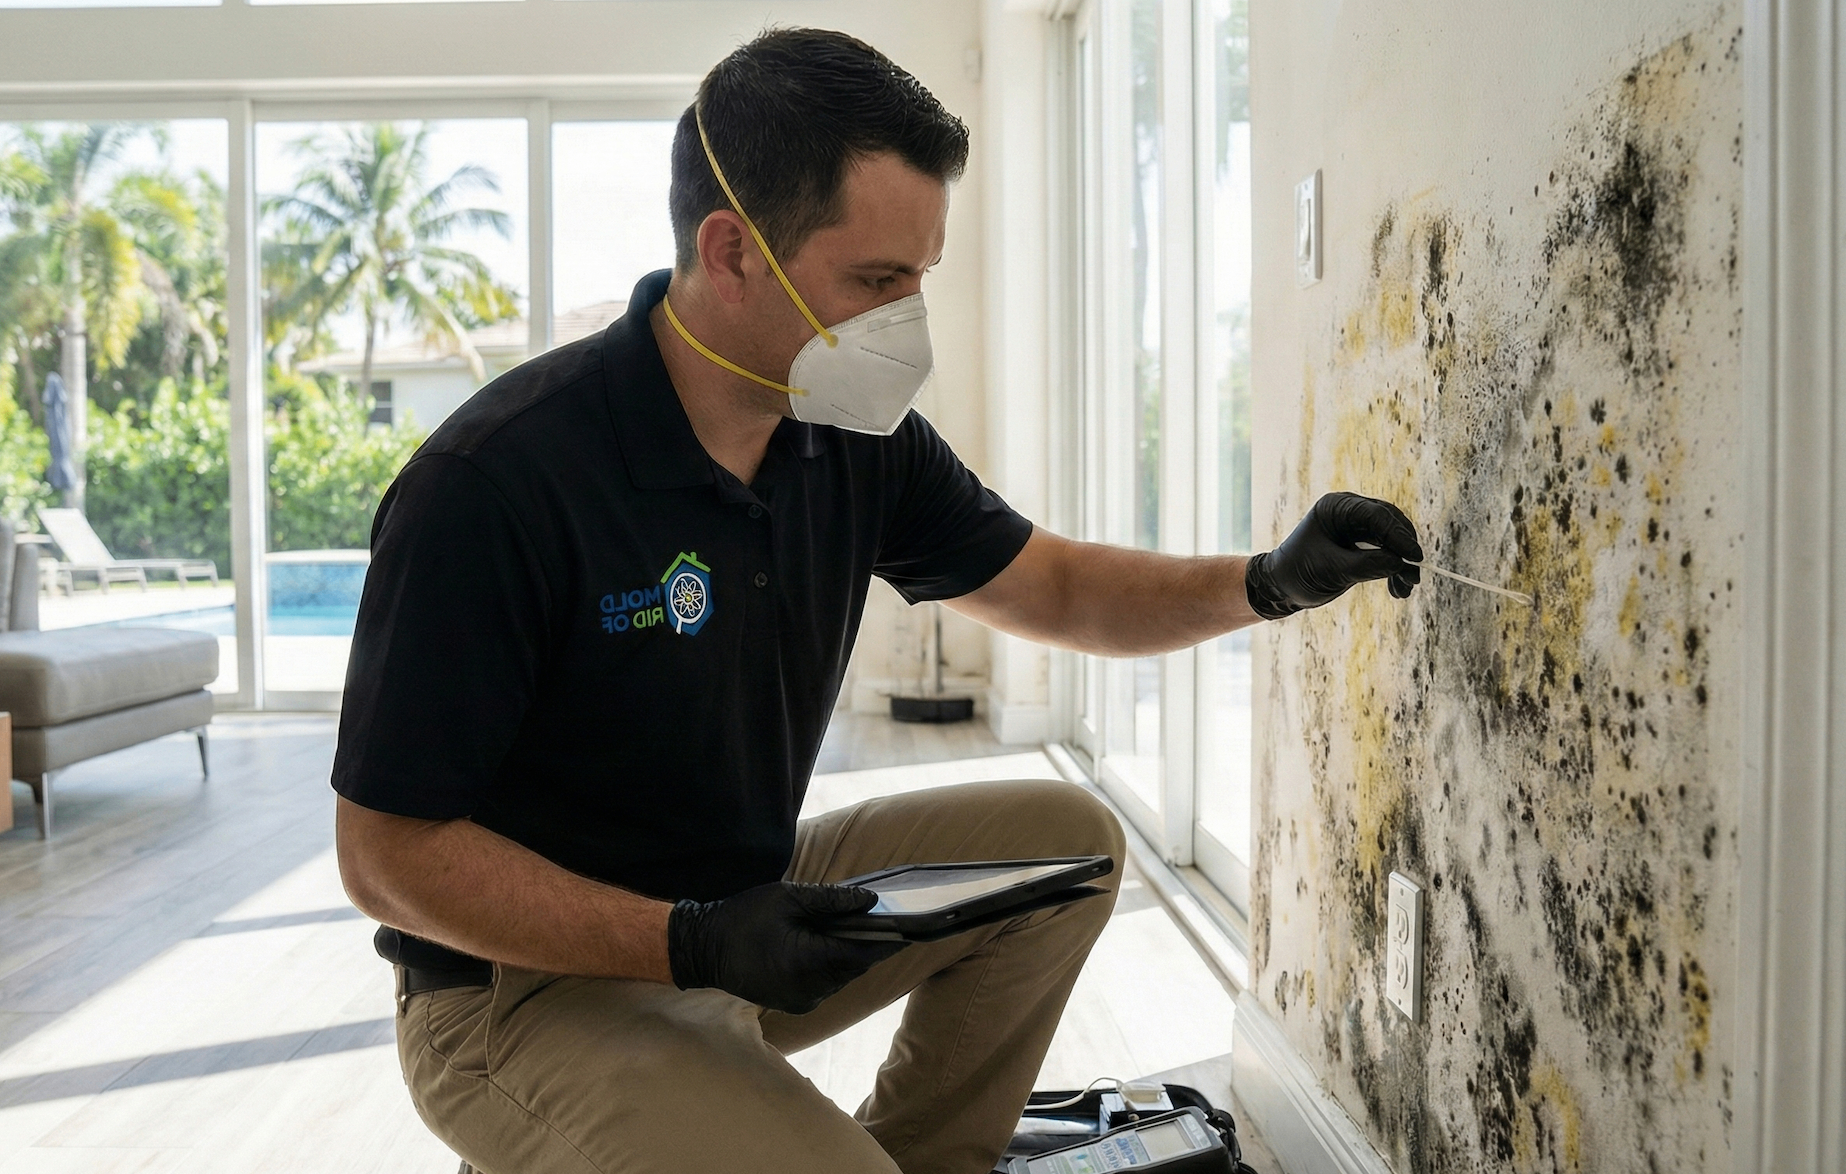
🧪 Step 5: Mold Sampling (When Appropriate)
Sampling isn’t always required—but it can be useful in specific cases.
Common sampling types
- Air samples (indoor vs. outdoor comparison)
- Surface samples (swabs or tape lifts)
- Bulk samples (small pieces of material, if needed)
Sampling may be recommended when:
- Mold isn’t visible but odors persist
- Health symptoms are unexplained
- Real estate or insurance documentation is needed
- Multiple areas are affected and clarity is required
Good inspectors don’t oversample—they sample strategically to answer specific questions.
🧠 Step 6: Analysis & Interpretation
Results are only helpful if they’re explained clearly.
A proper inspection includes:
- Interpreting findings in plain language
- Explaining what’s normal vs. elevated
- Identifying the moisture source driving growth
- Distinguishing between cosmetic issues and active problems
Numbers alone don’t solve anything—context does.
📄 Step 7: Written Report & Recommendations
You should receive a clear, organized report that includes:
- Areas inspected and tools used
- Moisture findings and locations
- Sampling results (if taken)
- Photos of concern areas
- Likely causes of mold or moisture
- Practical next steps (monitoring, drying, repairs, or remediation)
For insurance or real estate, documentation is critical. For homeowners, the action plan matters most.
🛠️ What a Mold Inspection Is Not
To set expectations, a mold inspection typically does not:
- Automatically require demolition
- Mean your home is “unsafe”
- Force remediation if moisture is controlled
- Equal a mold remediation job by default
An inspection is about information, not pressure.
❌ Common Myths About Mold Inspections
- “If I inspect, I’ll have to remediate.”
Not true. Many issues are resolved with drying and moisture control. - “Inspectors only look for visible mold.”
The real work is moisture detection. - “New homes don’t need inspections.”
New construction in coastal Florida often has trapped moisture. - “Bleach fixes what inspectors find.”
Bleach doesn’t address moisture—the root cause.
🧾 When Inspections Are Especially Important
Consider an inspection if:
- Musty odors persist
- Mold keeps returning
- There was a storm, roof, plumbing, or AC leak
- Health symptoms worsen indoors
- You’re buying or selling a home
- Multiple rooms show signs at once
Early inspections prevent late, expensive remediation.
🌊 Why Merritt Island Homes Benefit from Proactive Inspections
With waterways on both sides and constant humidity, Merritt Island homes experience:
- Slower drying
- More condensation
- Hidden moisture pathways
- Year-round mold pressure
Inspections help you stay ahead, not catch up.
✅ Final Takeaway for Merritt Island Property Owners
A mold inspection isn’t about fear—it’s about clarity and control.
The process:
✔ Identifies hidden moisture
✔ Explains why mold is (or isn’t) present
✔ Guides smart, targeted next steps
✔ Protects indoor air quality
✔ Preserves property value
In Merritt Island’s coastal climate, understanding the inspection process is one of the best tools you have to keep your home healthy.